Just thought of sharing these...
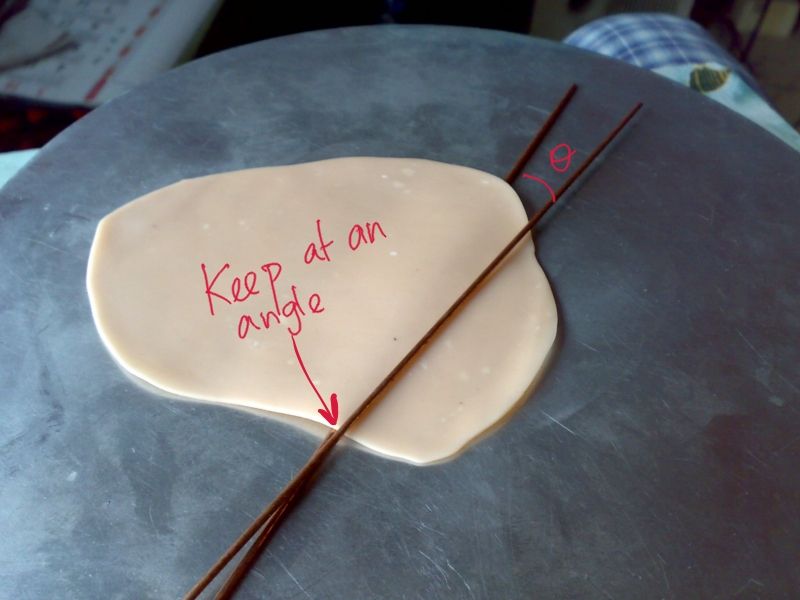
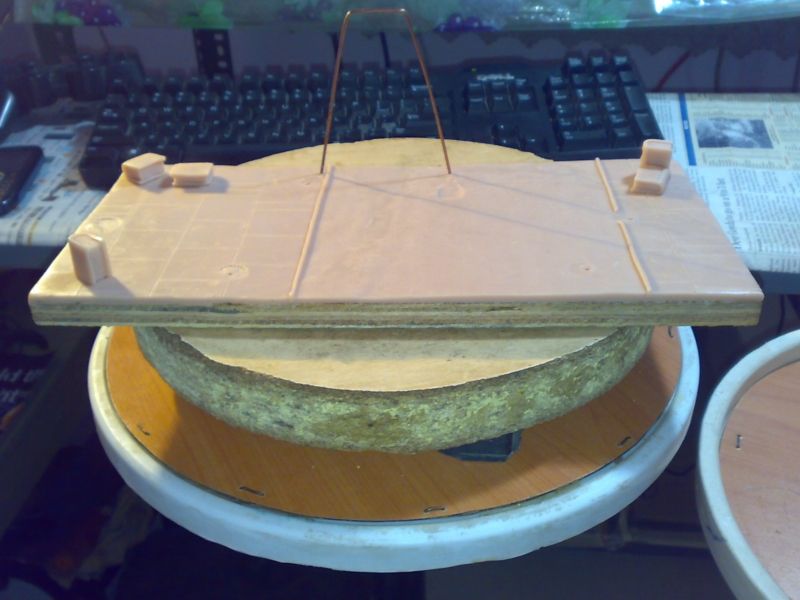
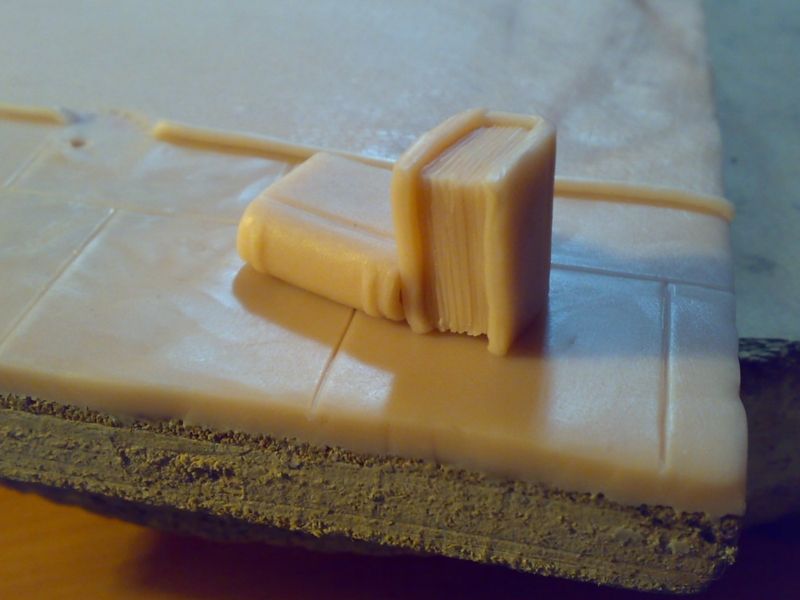
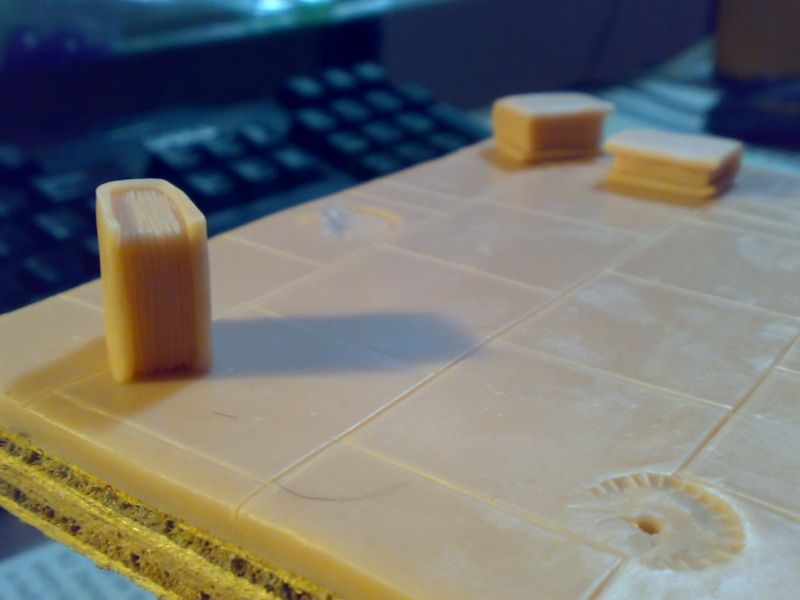
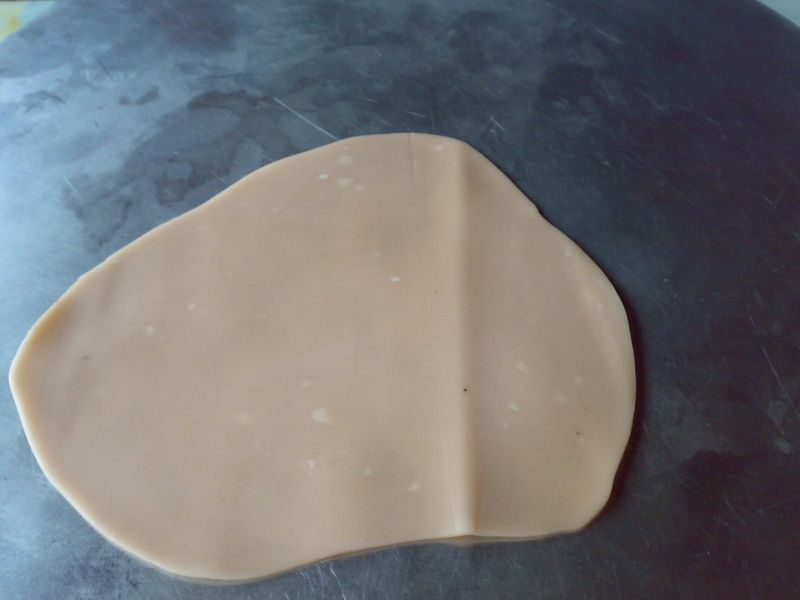
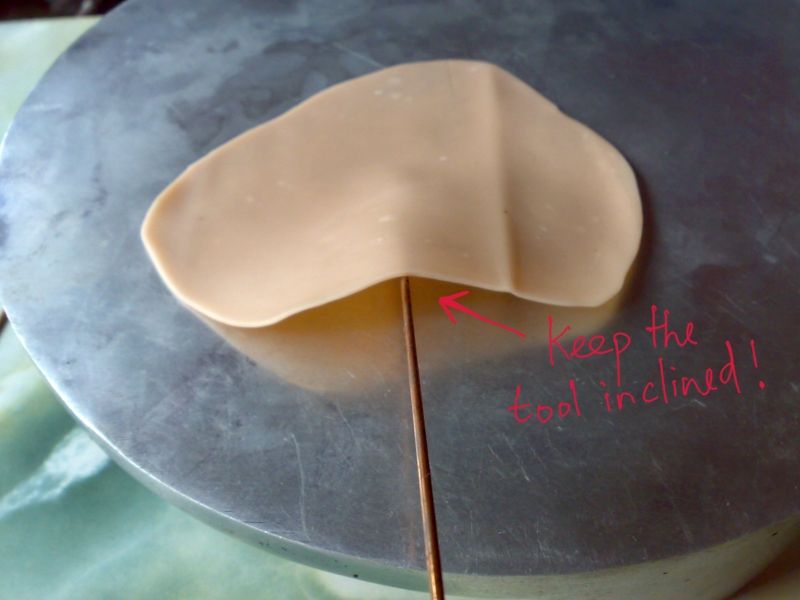
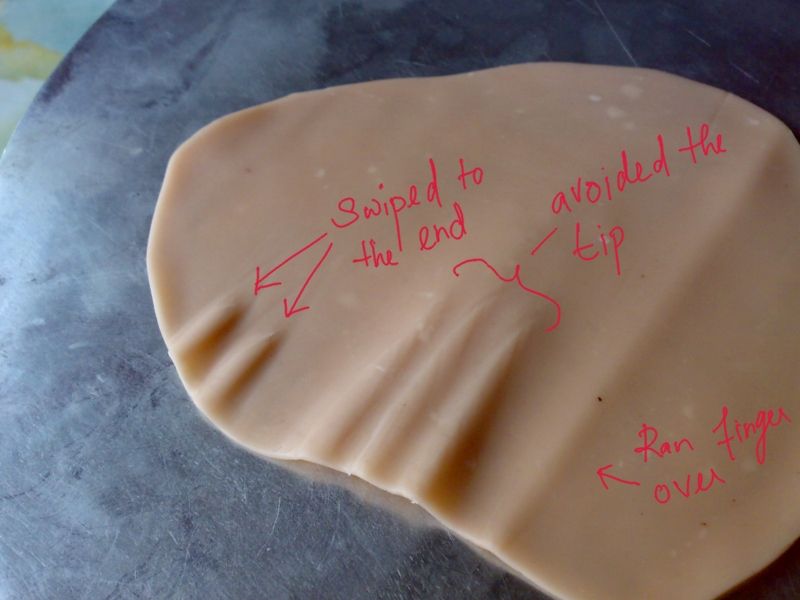
Since I was in a hurry, it hasn't come out well. For mine I used a
thicker tool underneath the clay and the thinner one on the top. After
rubbing once, I changed the position of the tool on top over to the
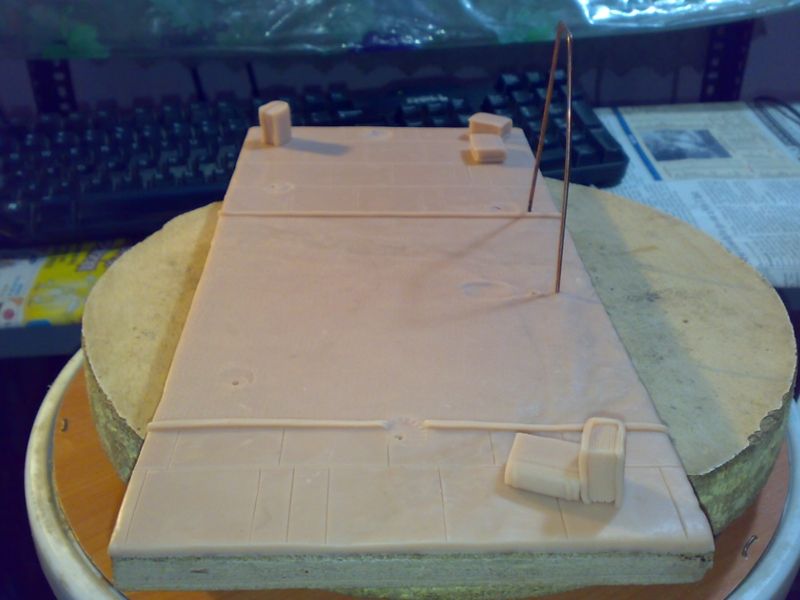
other side and repeated the same. The trick is to avoid rubbing all the
way down. You will get a gradual "V" shape.
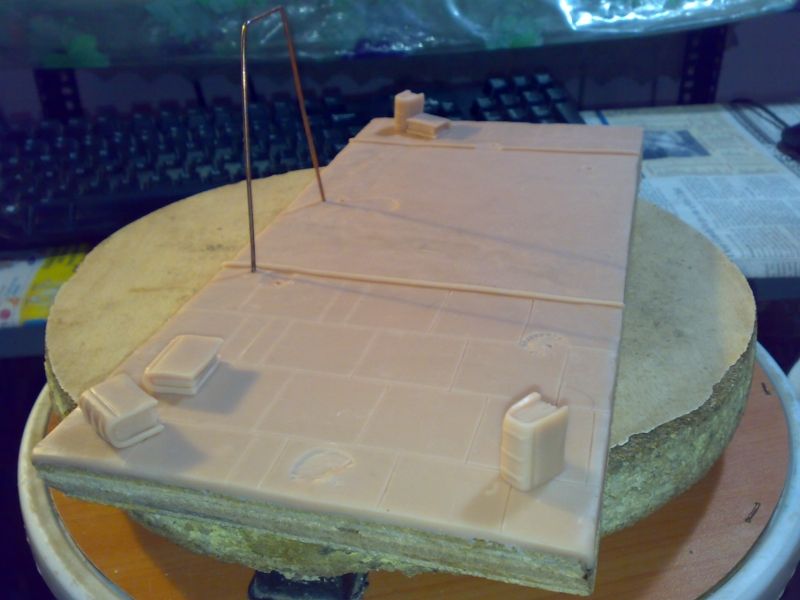
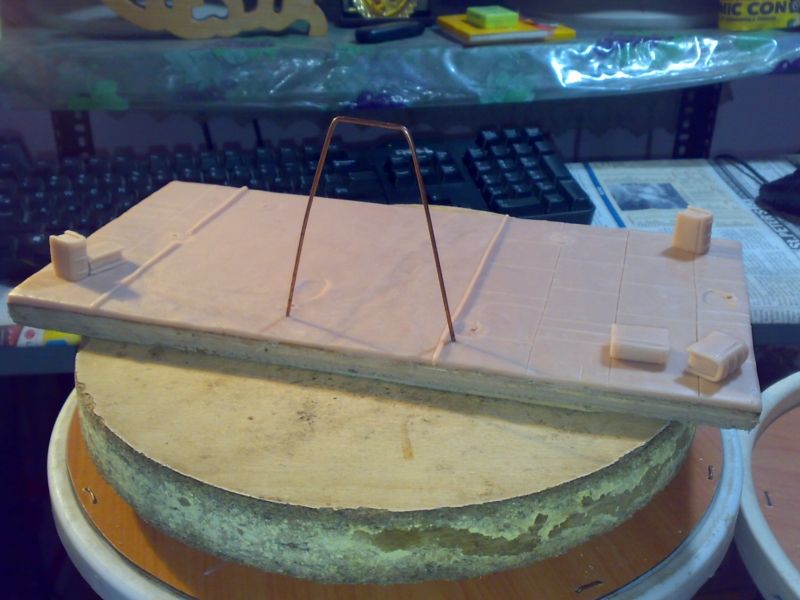
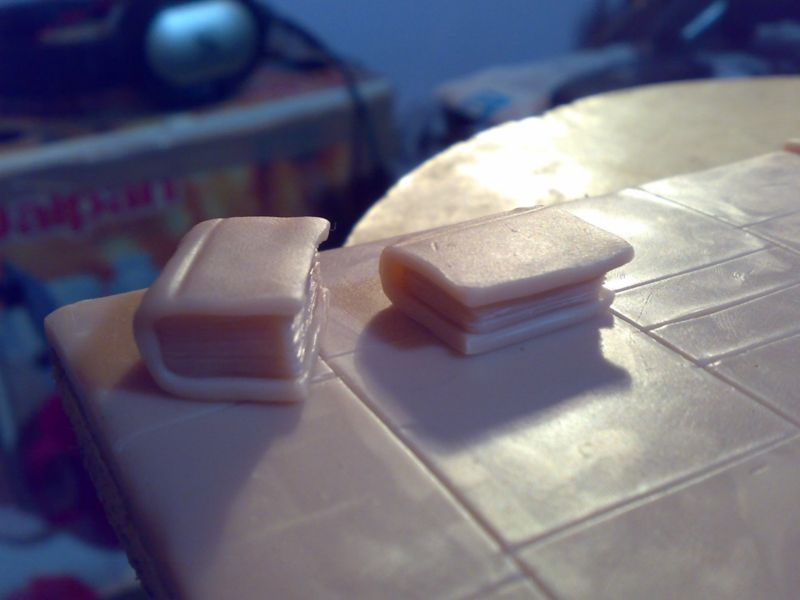
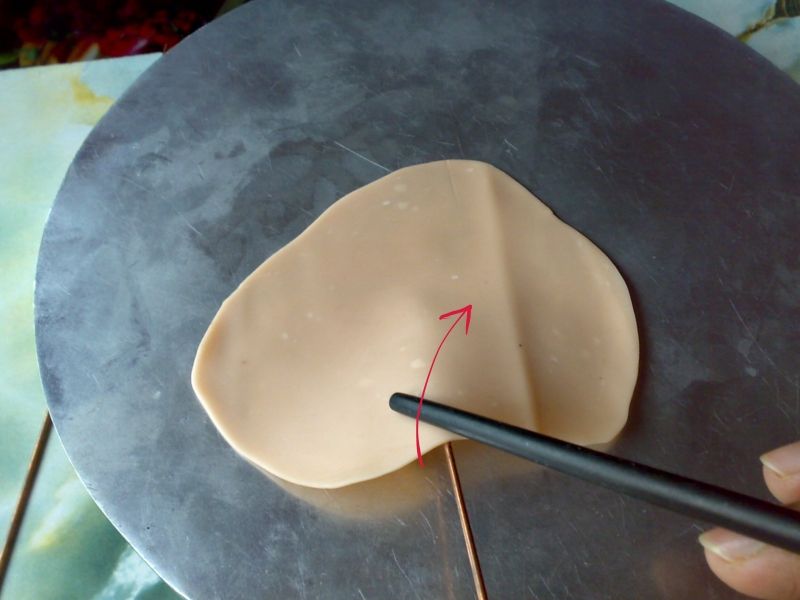
Here's another technique I used to crease the cape at the neck of Batman.
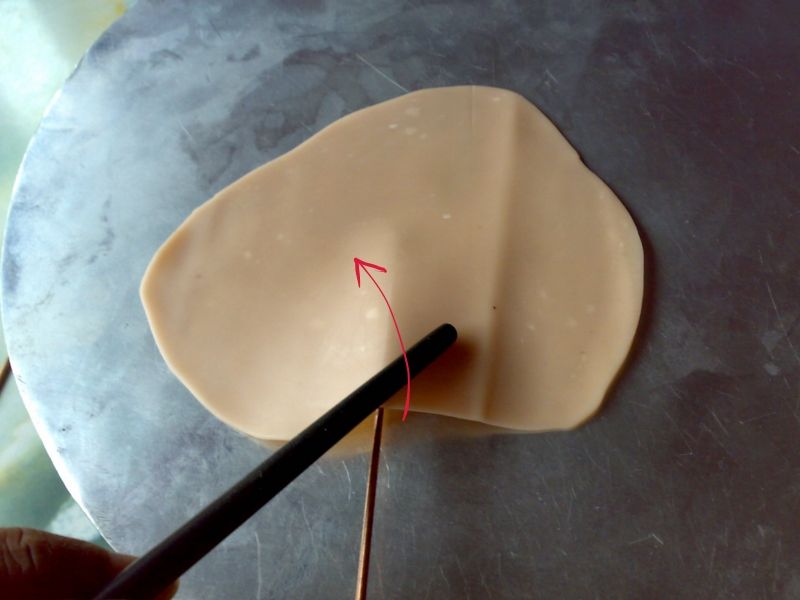
Hope this helps those looking for a cape sculpt tutorial.
I do have an untested idea though:
After reading Edouard Lanteri's books I came upon this idea.
Step 1: Make a duplicate of your statue so that you don't soil your work and apply some spray so that things do not stick
Step 2: Take any cloth (soft ones I guess) and lay out your drapery/cape in the style that you wish.
Step 3: Gently start spraying diluted plaster of paris on to the cloth so that it holds the pose/fold/pleats.
Step 4: Once dry you can: overlay it with wax or other medium/reinforce
it by coating it with some kind of bonding agent or glue/mould it and
take a cast.
Step 5: Fix it to your original work
Please do let me know if you have been able to try this out. I have no access/knowledge of moulding, wax modelling, resin casting, etc