Hi everyone,
This is a culmination of what I have learnt from great posts online and also from “The Art of Rigging”. This is a very useful book for serious riggers. What I am trying to do is give a brief introduction to the utilities in Hypershade. This is mostly useful for beginners. I am not the expert!
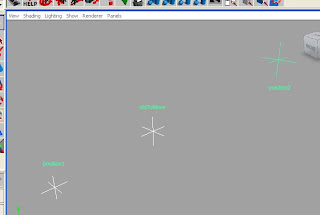
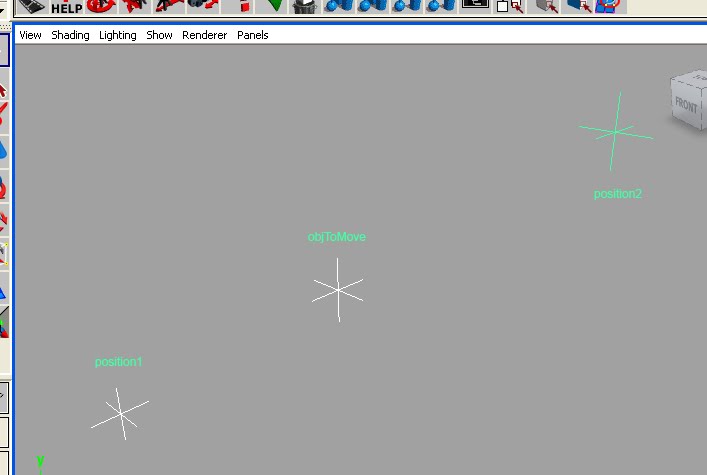
The aim of this exercise is to make the locator “objToMove” to be able to move between the locators “position1” and “position2”. The application could be a hand grasping an object and be able to take it.
Many beginners would just have a constraint set on the object to the two different positions. They would have to later on while animating have to go to the channel box and set the values manually for each of the constraints.

Select the locator objToMove and go to the Channel Box and click on Channels à Attribute à Add Attribute. Now we will create an attribute called Grasp with the values as in the image. The variable type is going to be Float so that we have more adjustability.


Now before we go forward, open the outliner and click on Display and turn off “Show DAG objects Only”. This will allow you to see textures and utilities later on in the tutorial. If at any point you click elsewhere and you can’t find where to click to get your selection back, please don’t press ctrl+z. Go to the outliner and it should be there.

Now go to Window -> Rendering Editors -> Hypershade. Yes it is generally used for texturing. But there are sections called “General Utilities”, “Color Utilities” and others which have amazing applications in Rigging.


Today’s focus in going to be on “Blend Colors” in the “Color Utilities”.

Notice that once you click on a utility it comes into the “Work area” of the Hypershade window. This icon is called a node. Notice the 3 arrows. We are going to concern ourselves with just the extreme two namely Input and Output.


Now the Blend colors utility (I’ve named it as blendGrasp) switches between two colors by changing the blender value. Now how do you represent a color on a computer? RGB values. So the two colors over here are represented by R1, G1, B1 and R2, G2, B2. (Refer to the pictures.)
Now set the values for blendGrasp in the Channel box as R1 = 1, G1 = 0, B1 = 0, R2 = 0, G2 = 1, G2 = 0. If you double click the blendGrasp icon in the Hypershade you will get its attributes. The colors will be Red and Green.
Blender = 0
R1 = 1 R2 = 0
G1 = 0 G2 = 1
B1 = 0 B2 = 0
Output R = 1
Output G = 0
Output B = 0
-------------
Blender = 1
R1 = 1 R2 = 0
G1 = 0 G2 = 1
B1 = 0 B2 = 0
Output R = 0
Output G = 1
Output B = 0
Unfortunately you will not be able to see the output easily. But this is how it works underneath. Now notice the output values. They are of 0-1 values. So we could plug in the output R to one of the constraints and the output G to the other constraint. This way they both can’t be set to one at the same time!
This is what we are going to do now. Now your Hypershade window already has the Blend Colors utility renamed as blendGrasp. Open the outliner and select objToMove and click on the [+] sign to show the constraint. Now middle click/click with the wheel and drag the constraint into the work area of the Hypershade. This brings in not only the constraint but also all that are connected to it. Now rearrange them for some peace of mind.
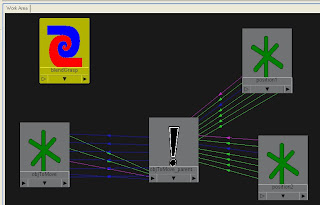
Now on “objToMove”, right-click and hold over the output arrow and in the menu there let go over our new attribute “Grasp”. There should be a rubber band like line stuck to our arrow. Now go to the “blendGrasp” node and right-click and hold over the input arrow and let go over the attribute “blender”. We have now successfully plugged in the Grasp value to the blender value of the blendGrasp node.
Now for the output. Our constraints are named “Position 1W0” and “Position 2W1” depending on which constraint was applied first (Refer to the second picture “stage2”). I have used only a “Parent constraint” with the “maintain offset” option turned off.
On the “blendGrasp” node output right-click and hold and let go on Output R. Now go to the constraint node (the one with the “!”) and on the input arrow right-click, hold and let go on “position 1w0”. We have successfully plugged in one of the outputs. You can go ahead and plug in the Output G to position 2w1 similarly. I would like to show you another method to plug-in the values.
Go to Window -> Editors -> Connection Editor.

In the outliner, select the constraint and click on “Reload Right”. This loads in all the attributes of the parent constraint. Again in the outliner select “blendGrasp” and click on “Reload Left”. So by now you should have “blendGrasp” in the “Outputs” box and the parent constraint in the “Inputs” box.

Now in the blendGrasp portion go to output, expand it and click on outputG. In the parent constraint box scroll down and look for position2w1 and click it. The font will change to ‘italics’ signifying that they are connected.

Now take a look at the work area of the Hypershade window and it should look like this.

Now you can get back to the viewport and select the Grasp attribute on objToMove and middle-mouse-drag in the viewport. Voila!. It works!
Extra step:
You can create a 3 joint chain and add an IK chain to it. Make either position1 or position2 a child of the IK chain. You can create a sphere and make it a child of objToMove. Delete the Grasp attribute on the locator and create a new Grasp attribute on the Sphere. After doing that link it with the blender of blendGrasp.


Happy animating :)
Try this tutorial out. It’s a little advanced. This is where I really understood the power of utilities.
http://studentpages.scad.edu/~jdoubl20/JTDsmartBlinks.html
I’ll come out with another tutorial later!


 Most of the modelling done:

 Little more detail and baked:

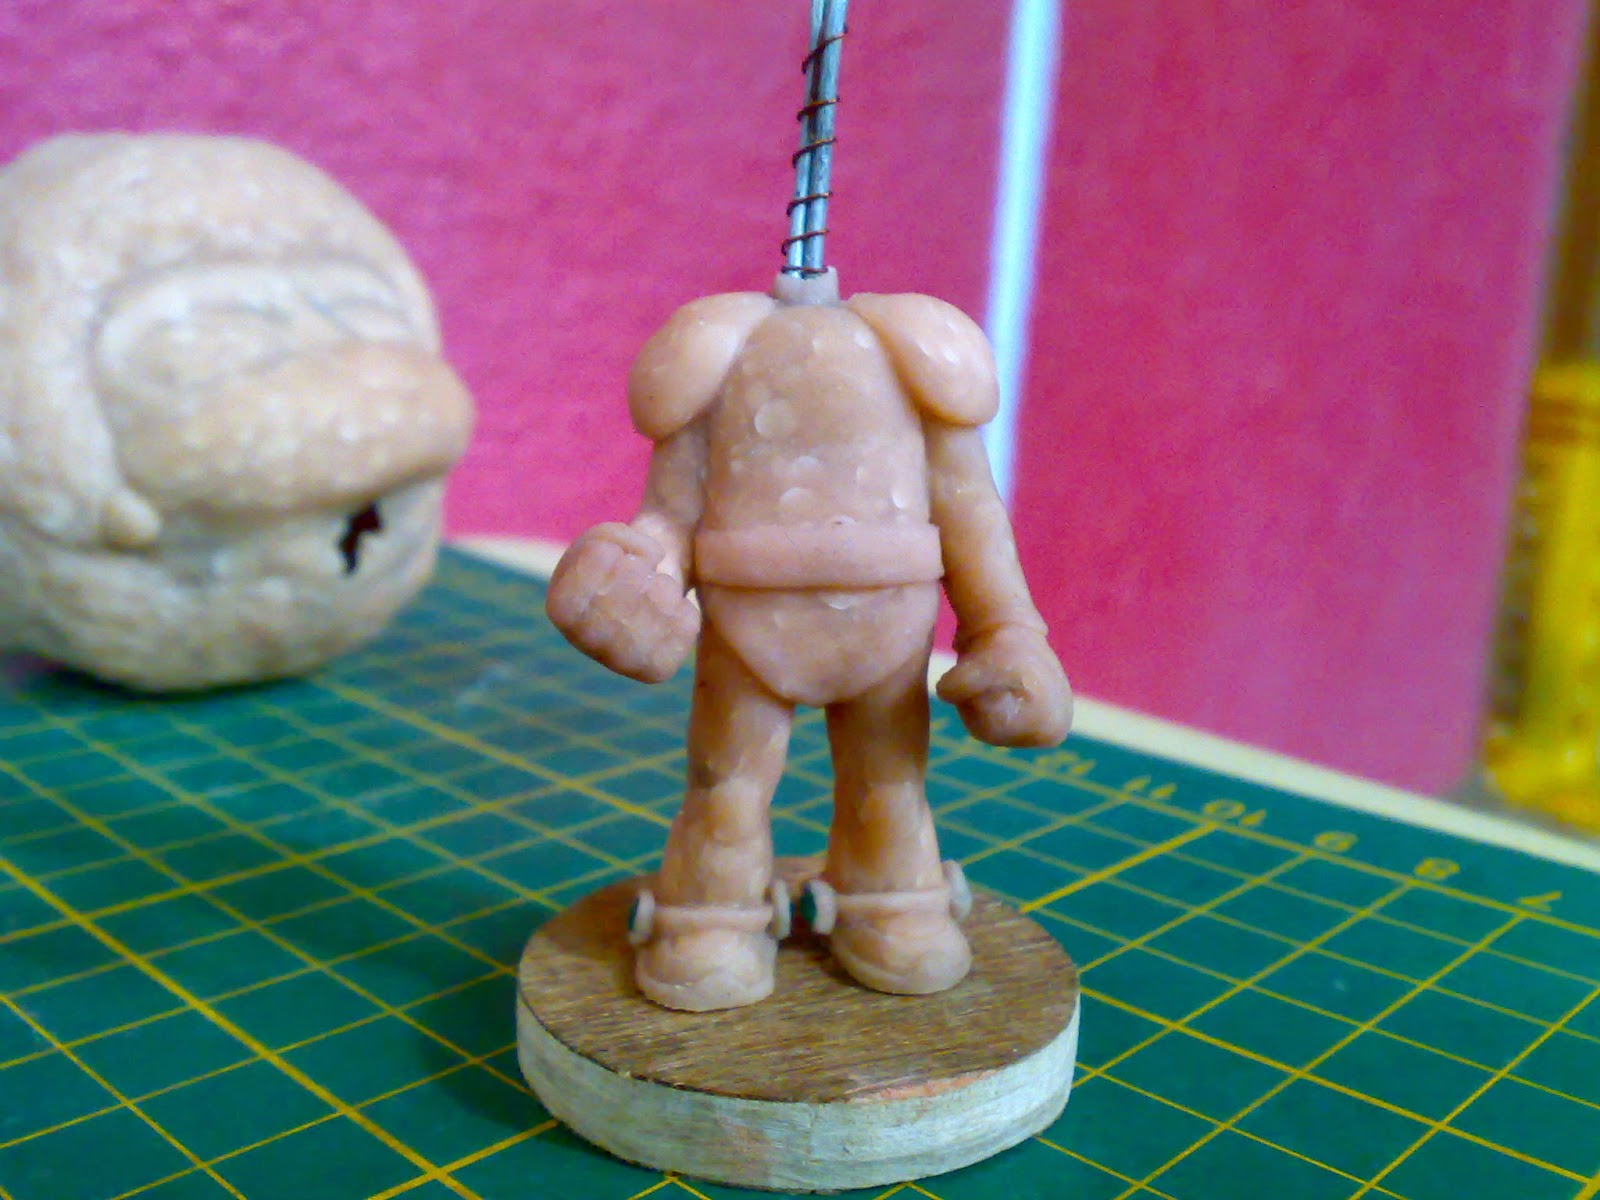 I put in 4 fake stones that are used in embroidery


 That's all folks: